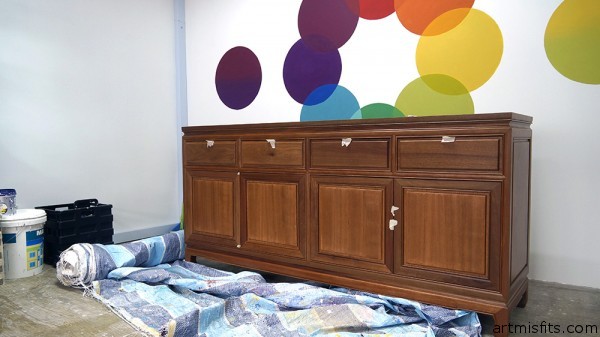
We’ve recently moved into our new workspace at Mayang Jaya and were fortunate enough to have some awesome furnitures given to us by the folks at Jiwa Furnitures. In return, we just have to spice it up with art and make it look good. This cabinet is made of solid wood, very heavy and comes with no handles.
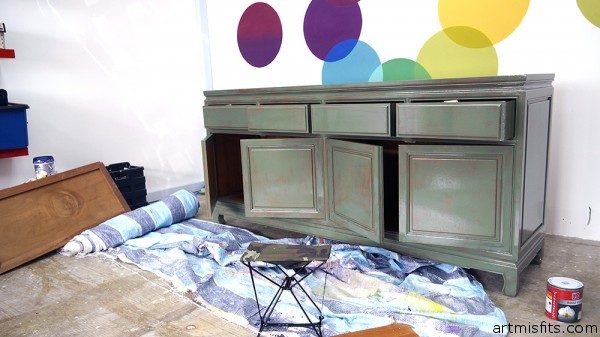
So first, we painted the furniture with a duck green oil based paint. It was just a quick dry brush, leaving some of the wood to show.

This gives it a distressed and worn look. This takes about 3-4 hours to dry, depending on the current humidity. If you are painting it to a mirror finish, you need to leave it overnight.
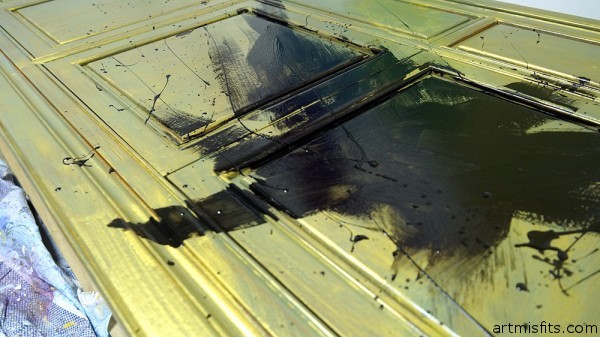
Then, we dry brush the entire cabinet using gold paint. You can get gold paint at any local hardware store. They usually use it to paint chinese letterings at the altar. After that, we had to lie the cabinet flat down, to make sure that the paint we slather on doesn’t drip downwards when we do our splattering.
I love splattering effects. The thick gloppy paint dries and form a nice raised texture. Mind you, if you use water based paint it won’t be as gloppy and raised as opposed to using oil based paint. Gotta leave this to dry overnight though.
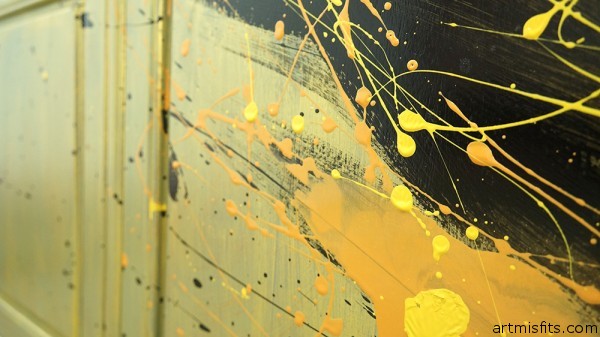
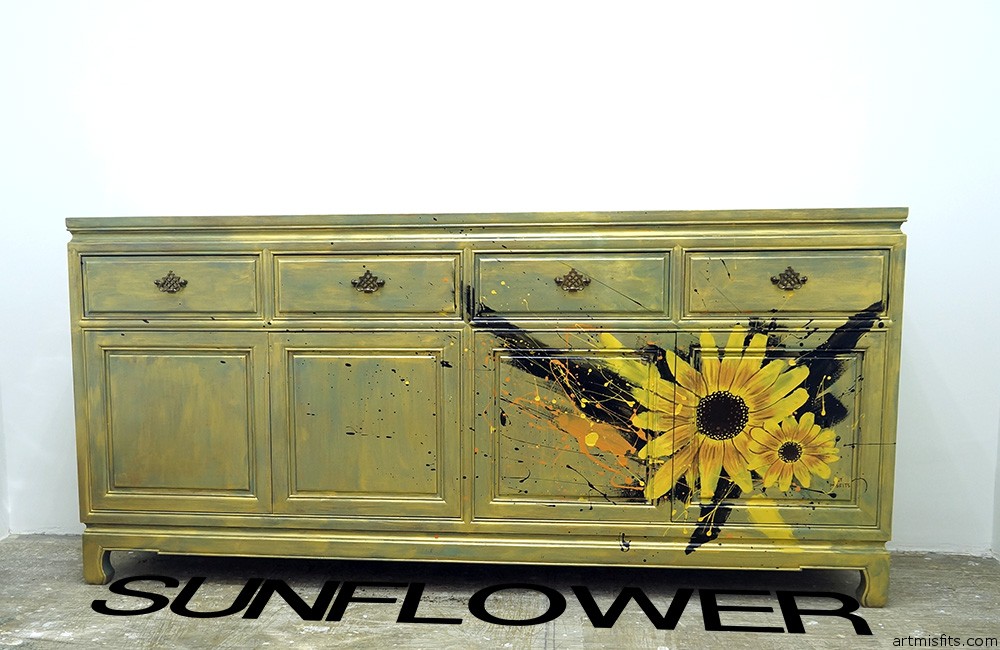
We splatter more orange and yellow paint over the black, creating a nice color contrast and now we are ready to paint the sunflower! Note, if you start painting a new layer when it is not completely dry, the previous layer will start to crumple and age. The oil paint contains a solvent that can dilute the layers underneath. So, work fast and don’t keep fixing your mistakes.
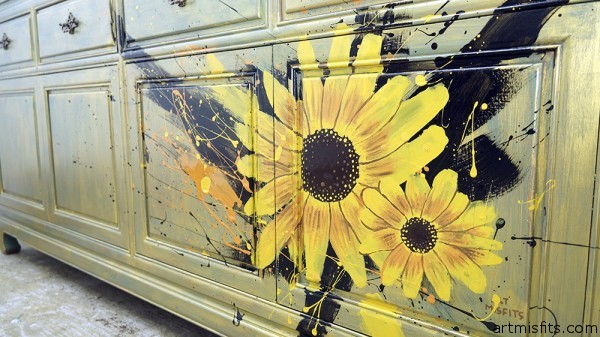
And here’s the sunflower!
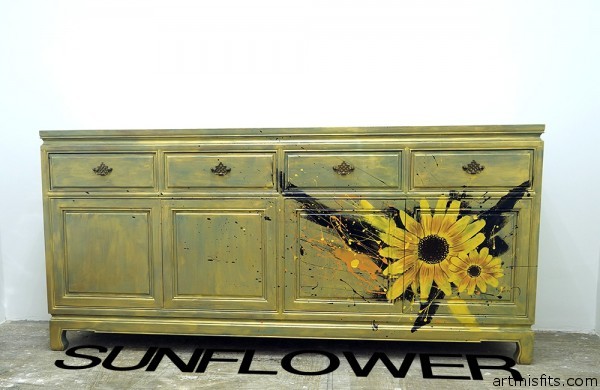
There’s actually 2 more stripes on top of the cabinet that we are going to gel with the upcoming mural. So stay tuned. 😀
